15% Off Selected iFixit Tools<\/a> \u2014 Limited Time<br\/>\nFree Shipping on Domestic Orders $75+<\/p>","createdAt":"2026-06-15T16:37:24.835Z","updatedAt":"2026-06-16T07:34:16.264Z","publishedAt":"2026-06-16T07:34:16.302Z","locale":"en","documentId":"s1gcjvoe15hdc1os0ndw1ggb"}}">

15% Off Selected iFixit Tools — Limited Time
Free Shipping on Domestic Orders $75+

How to re-caulk a bathroom sink

What you need

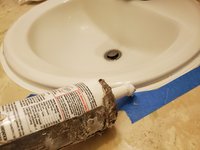
  1. How to re-caulk a bathroom sink, Caulk seal: step 1, image 1 of 1
    • Clean and dry around the rim of the sink with a paper towel.

    • Make sure the old caulk is completely dry before moving on.

    Ask FixBot

    Add Comment

  2. How to re-caulk a bathroom sink: step 2, image 1 of 1
    • Remove the old caulk around the rim of the sink with a utility knife.

    Ask FixBot

    Add Comment

  3. How to re-caulk a bathroom sink: step 3, image 1 of 1
    • Remove any old caulk residue around the rim of the sink with a wet paper towel.

    • Then dry the area completely.

    • Ensure the area is completely clean and dry before applying the new caulk.

    Ask FixBot

    Add Comment

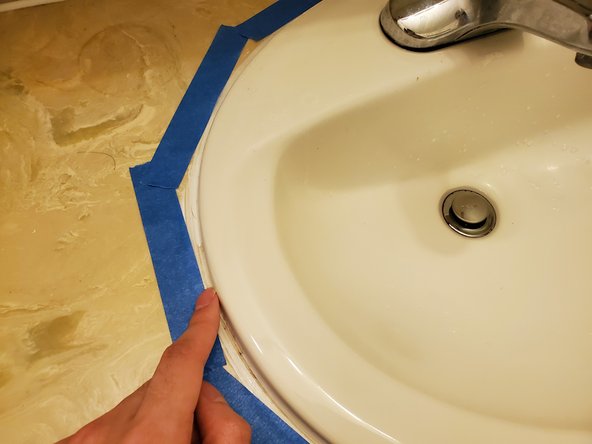
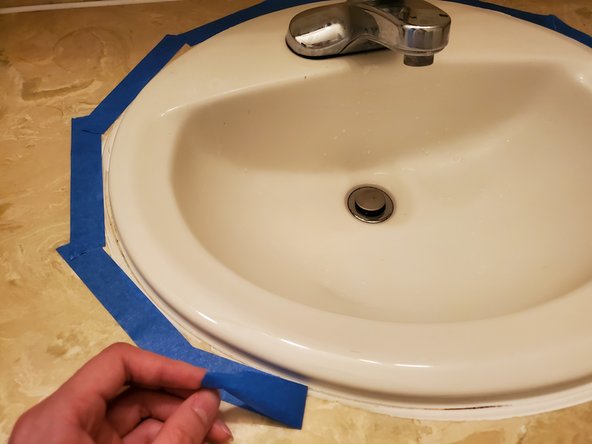
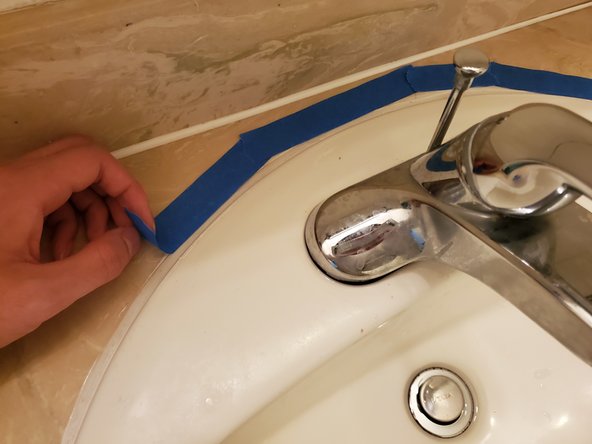
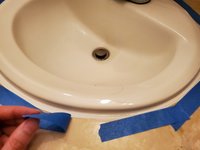
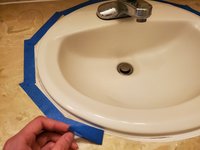
  4. How to re-caulk a bathroom sink: step 4, image 1 of 3 How to re-caulk a bathroom sink: step 4, image 2 of 3 How to re-caulk a bathroom sink: step 4, image 3 of 3
    • Apply painter's tape around the rim of the sink while leaving a small gap for caulk to be applied.

    Ask FixBot

    Add Comment

  5. How to re-caulk a bathroom sink: step 5, image 1 of 2 How to re-caulk a bathroom sink: step 5, image 2 of 2
    • Place the caulk tube into the gun.

    • Slowly press the trigger to release a thin line of caulk and move around the edge of the sink as you go.

    Ask FixBot

    Add Comment

  6. How to re-caulk a bathroom sink: step 6, image 1 of 3 How to re-caulk a bathroom sink: step 6, image 2 of 3 How to re-caulk a bathroom sink: step 6, image 3 of 3
    • Smooth out the caulk against the edge of the rim and counter with your wet index finger.

    • Keep a rag nearby to wipe excess caulk from your finger periodically.

    • Press against the caulk firmly while sliding your index finger as you go around the rim of the sink.

    Ask FixBot

    Add Comment

  7. How to re-caulk a bathroom sink: step 7, image 1 of 3 How to re-caulk a bathroom sink: step 7, image 2 of 3 How to re-caulk a bathroom sink: step 7, image 3 of 3
    • Pull the tape away from the counter immediately after applying the caulk.

    • Pulling away from the counter will help keep the caulk in a straight line.

    Ask FixBot

    Add Comment

  8. How to re-caulk a bathroom sink: step 8, image 1 of 1
    • Wipe off any excess caulk from the edge of the rim with a wet paper towel.

    Ask FixBot

    Add Comment

  9. How to re-caulk a bathroom sink: step 9, image 1 of 1
    • Let the new caulk dry for at least a day before using the sink.

    Ask FixBot

    Add Comment

Finish Line

Cancel: I did not complete this guide.

2 other people completed this guide.

Thi Nguyen

Member since: 04/29/20

225 Reputation

1 Guide authored

Team

0 Guide Comments

Add Comment

View Statistics:

Past 24 Hours: 172

Past 7 Days: 776

Past 30 Days: 934

All Time: 9,135